Almost three years ago my friend Chris gave birth to a beautiful baby girl named Zayana Grace. Zayana was born with a condition called Osteogenesis Imperfecta (OI). You may know this condition as Brittle Bones. Chris and her husband, Ernesto, were told that their baby would probably not survive childbirth. Their little family had so many people praying for them and beautiful little Z defied the odds and lived for 16 weeks. My heart simultaneously rejoiced and broke for my dear friend.
In Zayana's honor, Chris started
From Z with Love, a non-profit organization which sends care packages to other families with OI babies. She and Ernesto have also celebrated Zayana's birthday each year by gathering donations for St. Vincent's Hospital NICU. Last year Chris asked if anyone would be able to figure out how to make little dolls that absorb the parent's scent that could be placed in the incubators with the NICU babies to help aid in bonding. I took on the challenge and came up with Zbabies.
The OI community uses the image of a snowflake to represent their beautiful, unique, delicate children. And they use the color yellow to raise awareness for OI. And, of course, the Z is for Zayana.
Here is the first Zbaby I made. Isn't is cute? I can totally picture this little guy as baby's special lovey. These little dolls are so easy to make! Chris and Ernesto want to be able to donate a whole bunch of Zbabies to the NICU. So here's a tutorial on how to make them. Zayana's Third Birthday Bash is on December 23, 2013 and if you'd like to make some of these dolls for Chris and Ernesto to take with them on that day you can email me (jeanalinhart@gmail.com) and I'll send you the address where they can be mailed.
Please use this tutorial to make these dolls as gifts and as donations to hospitals. But please do not use this tutorial to make dolls to sell. Thanks for understanding!
Here's what you'll need:
A sewing machine
Receiving blankets (or other 100% cotton flannel fabric)
100% cotton flannel in a solid color for the head
Thread that matches the head color
Thread that coordinates with your receiving blankets
Scissors
An iron and ironing board
A hand sewing needle
Pins
1 ounce of clean pure un-dyed sheep's wool
You could probably use wool yarn but it would be expensive and pain to wind it up into a ball. I found my wool a local yarn and spinning shop. If you don't have one nearby you can order online from my local shop
Pacific Wool & Fiber. They sell 8 ounces of wool for $10.95 plus shipping. I recommend the Cotswold wool because it's really fluffy. If you bought two four packs of receiving blankets and one package of wool you could make 8 Zbabies! If you don't want to make quite that many I can send you the amount you want for $1.50 each plus shipping. Just email me--I'm happy to help!
The reason it has to be wool is because wool is excellent at absorbing scents and it has antibacterial and antimicrobial properties.
Wash and dry the receiving blankets and flannel. Try to use unscented detergent if you can.
Roll your wool into a loose ball.
Be sure to tuck the end securely into the ball so it doesn't unravel. Set the wool ball aside.
Lay your blanket on a flat surface and fold one corner to the opposite corner.
Some receiving blankets are not perfectly square so if you end up with a band of fabric on one side of your triangle cut it off so that the blanket is square. Save the fabric band, though. It will be useful for the hat later.
Fold your triangle in half again by bringing one of the corners on the long edge over to the other long edge corner. Then fold that triangle in half.
On the corner that doesn't have any open edges measure down about 3.5 inches and cut that tip off.
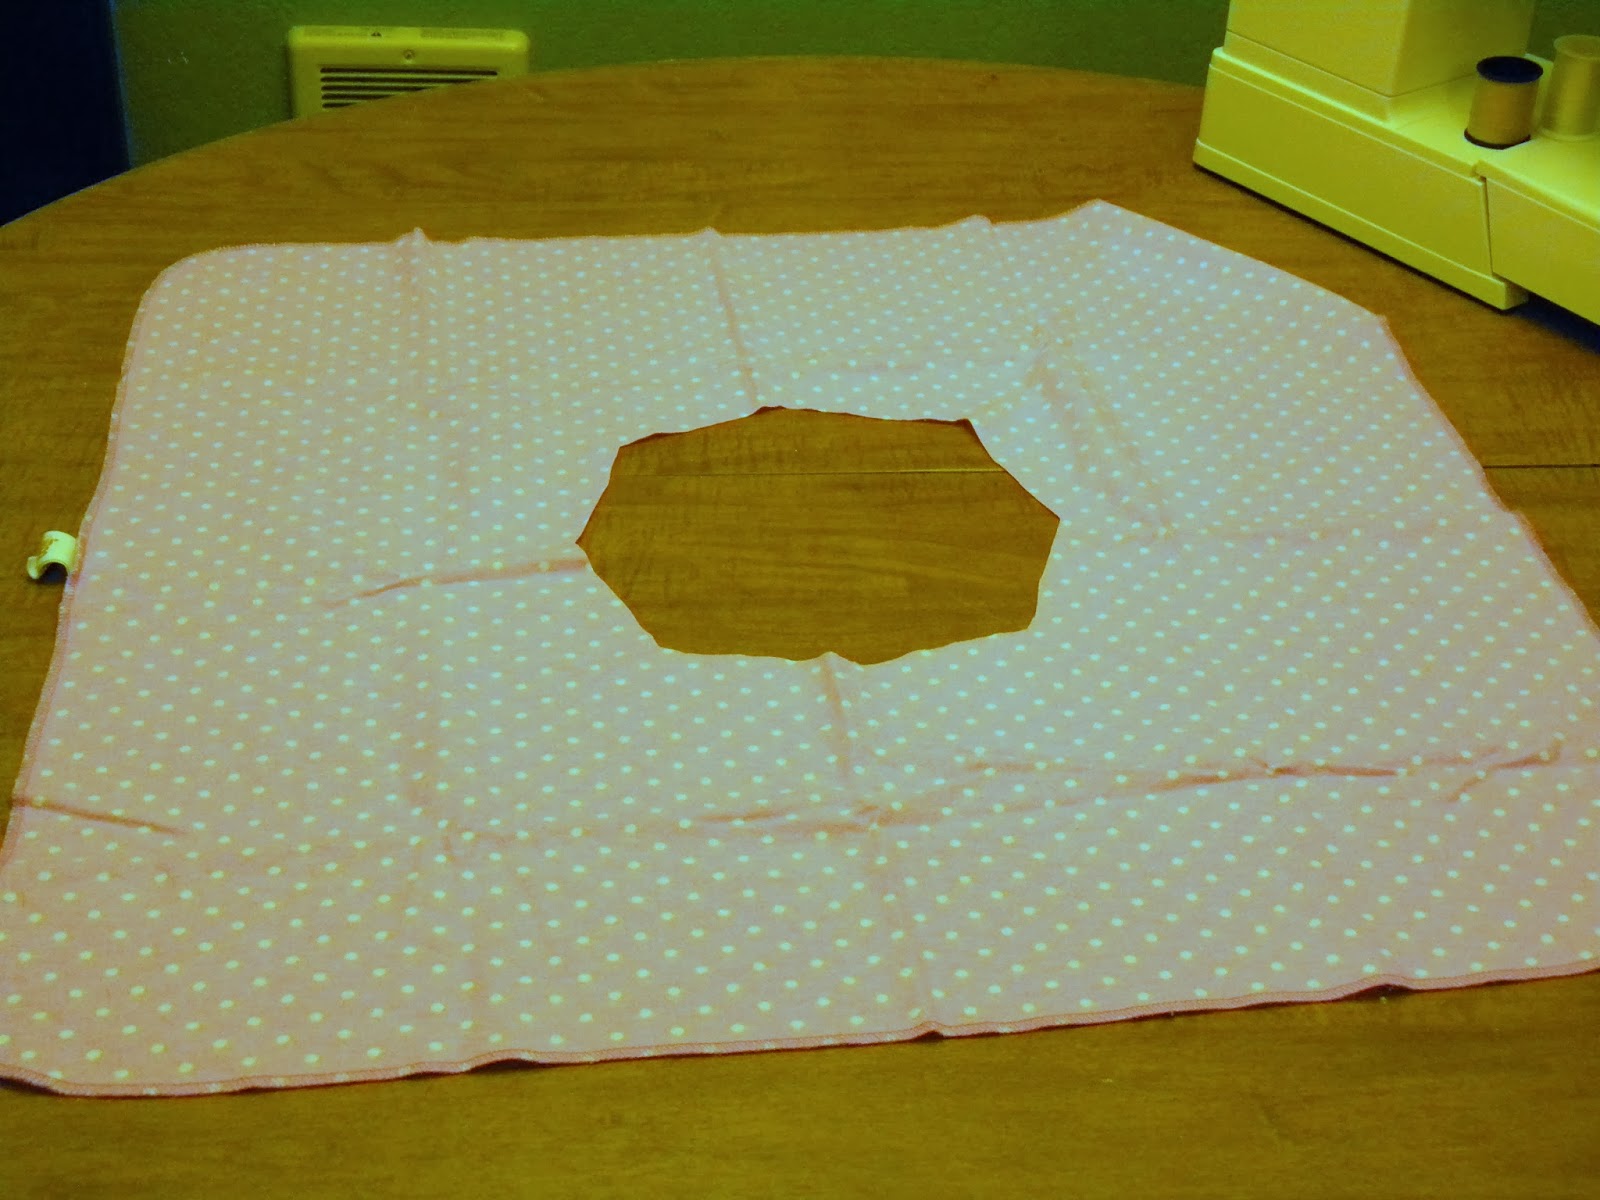
You should now have a large circular hole in the middle of your blanket.
Cut a piece of flannel so that it is slightly bigger than the hole in your blanket.
Lay the blanket over the flannel piece and pin all the way around the circle.
You are going to make a Satin Stitch all the way around the circle so you'll want to set your sewing machine to have a wide zig zag stitch and a pretty short stitch length.
Stitch all the way around the circle making sure to catch both the receiving blanket and the flannel in the zig zag. Make sure to remove your pins as you go so that you don't accidentally sew over any of them.
Here's a close up of the satin stitch.
You could also have a longer stitch length and make a standard zig zag stitch all the way around. It would be faster and use less thread, but I think that since these are for babies we should make them as secure and as resistant to fraying as possible.
When you're done you should have something like this:
Fold the corners together again with the right sides together.
Don't forget to switch your machine back to a straight stitch and to a regular stitch length. I set mine to about 2.5.
Starting from about 4 inches down on one of the open sides, stitch the whole blanket closed.
See how we left an opening?
Use that opening to turn the entire blanket right side out.
Make sure to really push the corners out.
Now find your opening again and place the wool ball inside it.
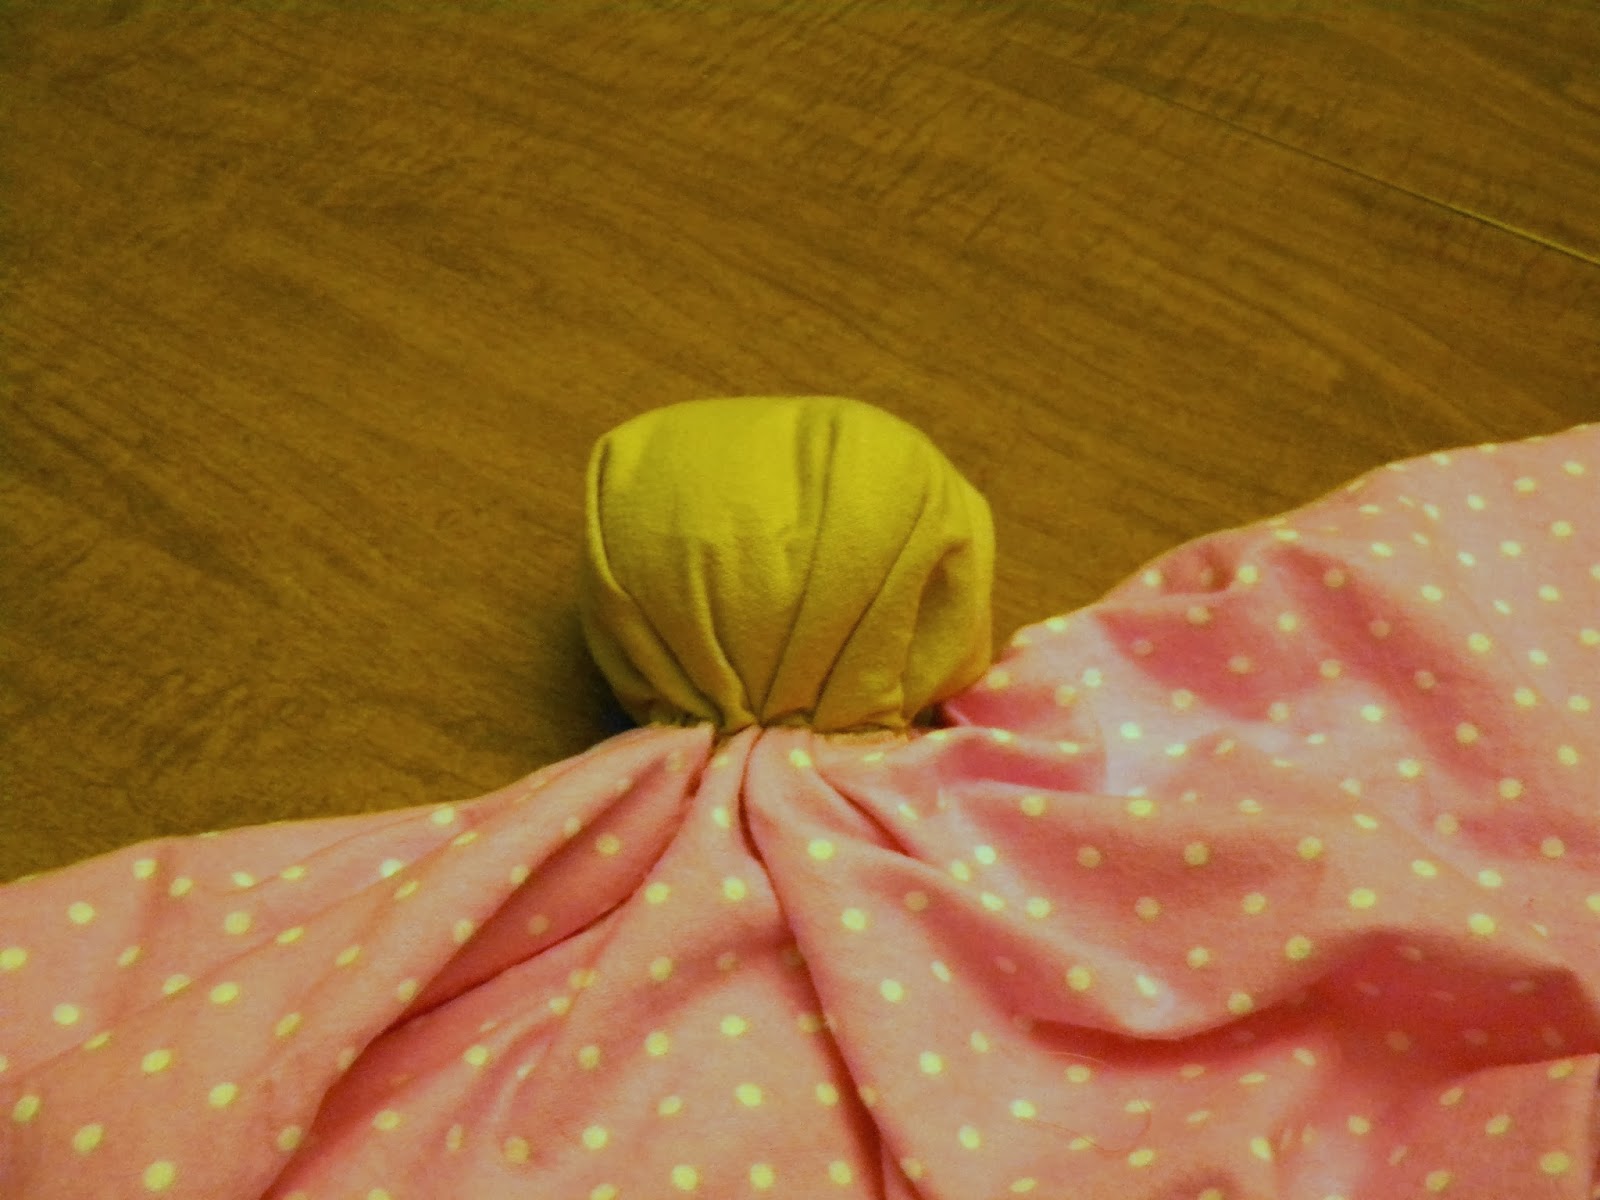
Kind of shake the ball down into the blanket until it's inside the head colored flannel.
Gather the fabric together underneath the wool ball forming a neck.
Using a needle and thread sew all the way through the neck right through the satin stitching until the wool ball is secure. It helps to have a long needle so you can sew all the way through one side and out the other.
Again, we are sewing for babies so please make this is as secure as possible.
Now it's starting to look like a doll!
Press all the seams so they are nice and straight. At the opening fold the fabric inwards so it's even with the seam you stitched earlier.
Now we're going to top stitch from the edge of one arm all the way around to the edge of the other. This will close up the opening and give a nice detail to the doll. I just did a straight stitch but if your machine does decorative stitches you could do that, too.
After you're done stitching the entire body, tie little knots at the end of each arm. We're almost done! We just need to make a hat.
I like to buy my receiving blankets in 4 packs from Target. I use one blanket for all the hats. Cut off one corner of the receiving blanket so that you have a triangle that is about 5 inches tall.
I don't have a picture of this step but remember the band you cut off from your first receiving blanket? Use that or another coordinating piece of flannel. Fold it in half lenghtwise and sew it to the bottom edge of the triangle like this:
Wrap the hat around your doll's head to find the right fit. You may have to trim down the width of of the hat. Fold the triangle in half with the right sides facing in.
Straight stitch from the top of the hat all the way down to the where the band starts. DO NOT stitch the band closed.
Turn the hat right side out and then stitch the band closed. This is so that the seam will be on the inside once we flip the hat band up.
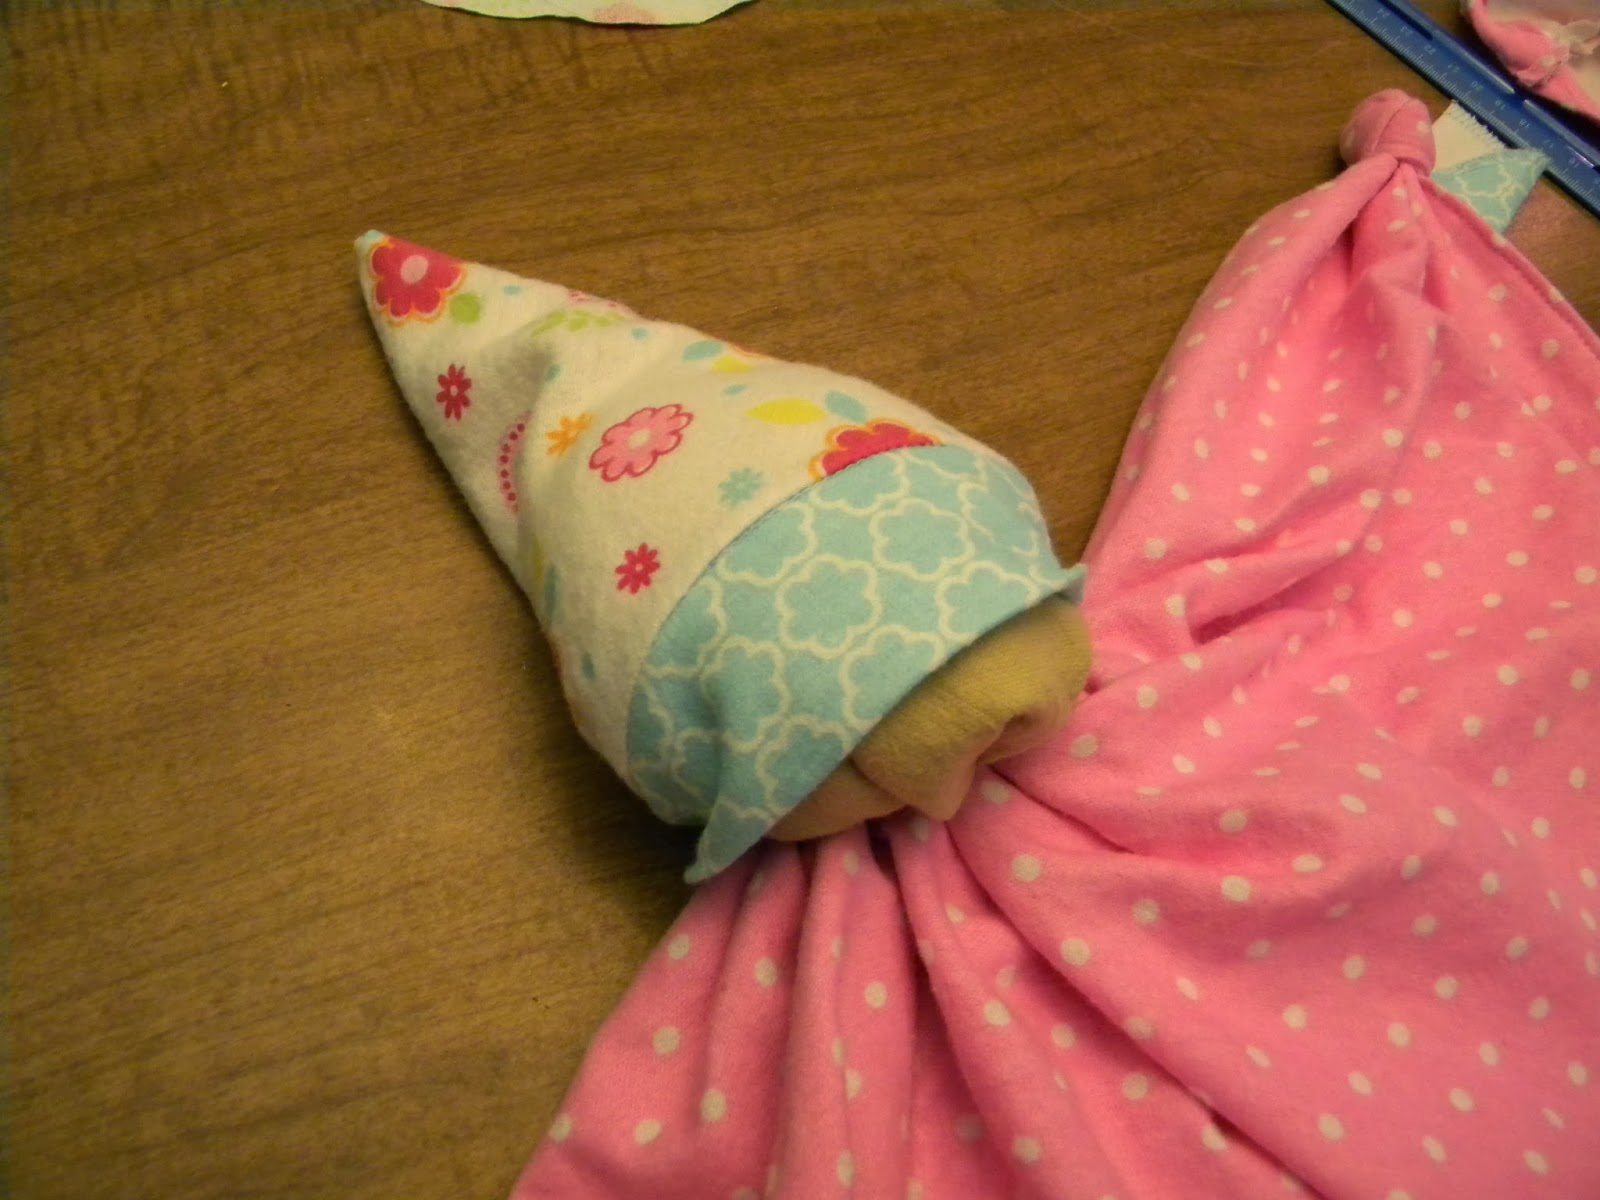
Place the hat on your doll so that the back of the hat goes all the way down past the neck seam. It will look too low but remember that we are going to flip that band up again.
Stitch the hat to the dolls head right inside the seam of the hat and the hat band. Again, babies...secure stitching...you know the drill.
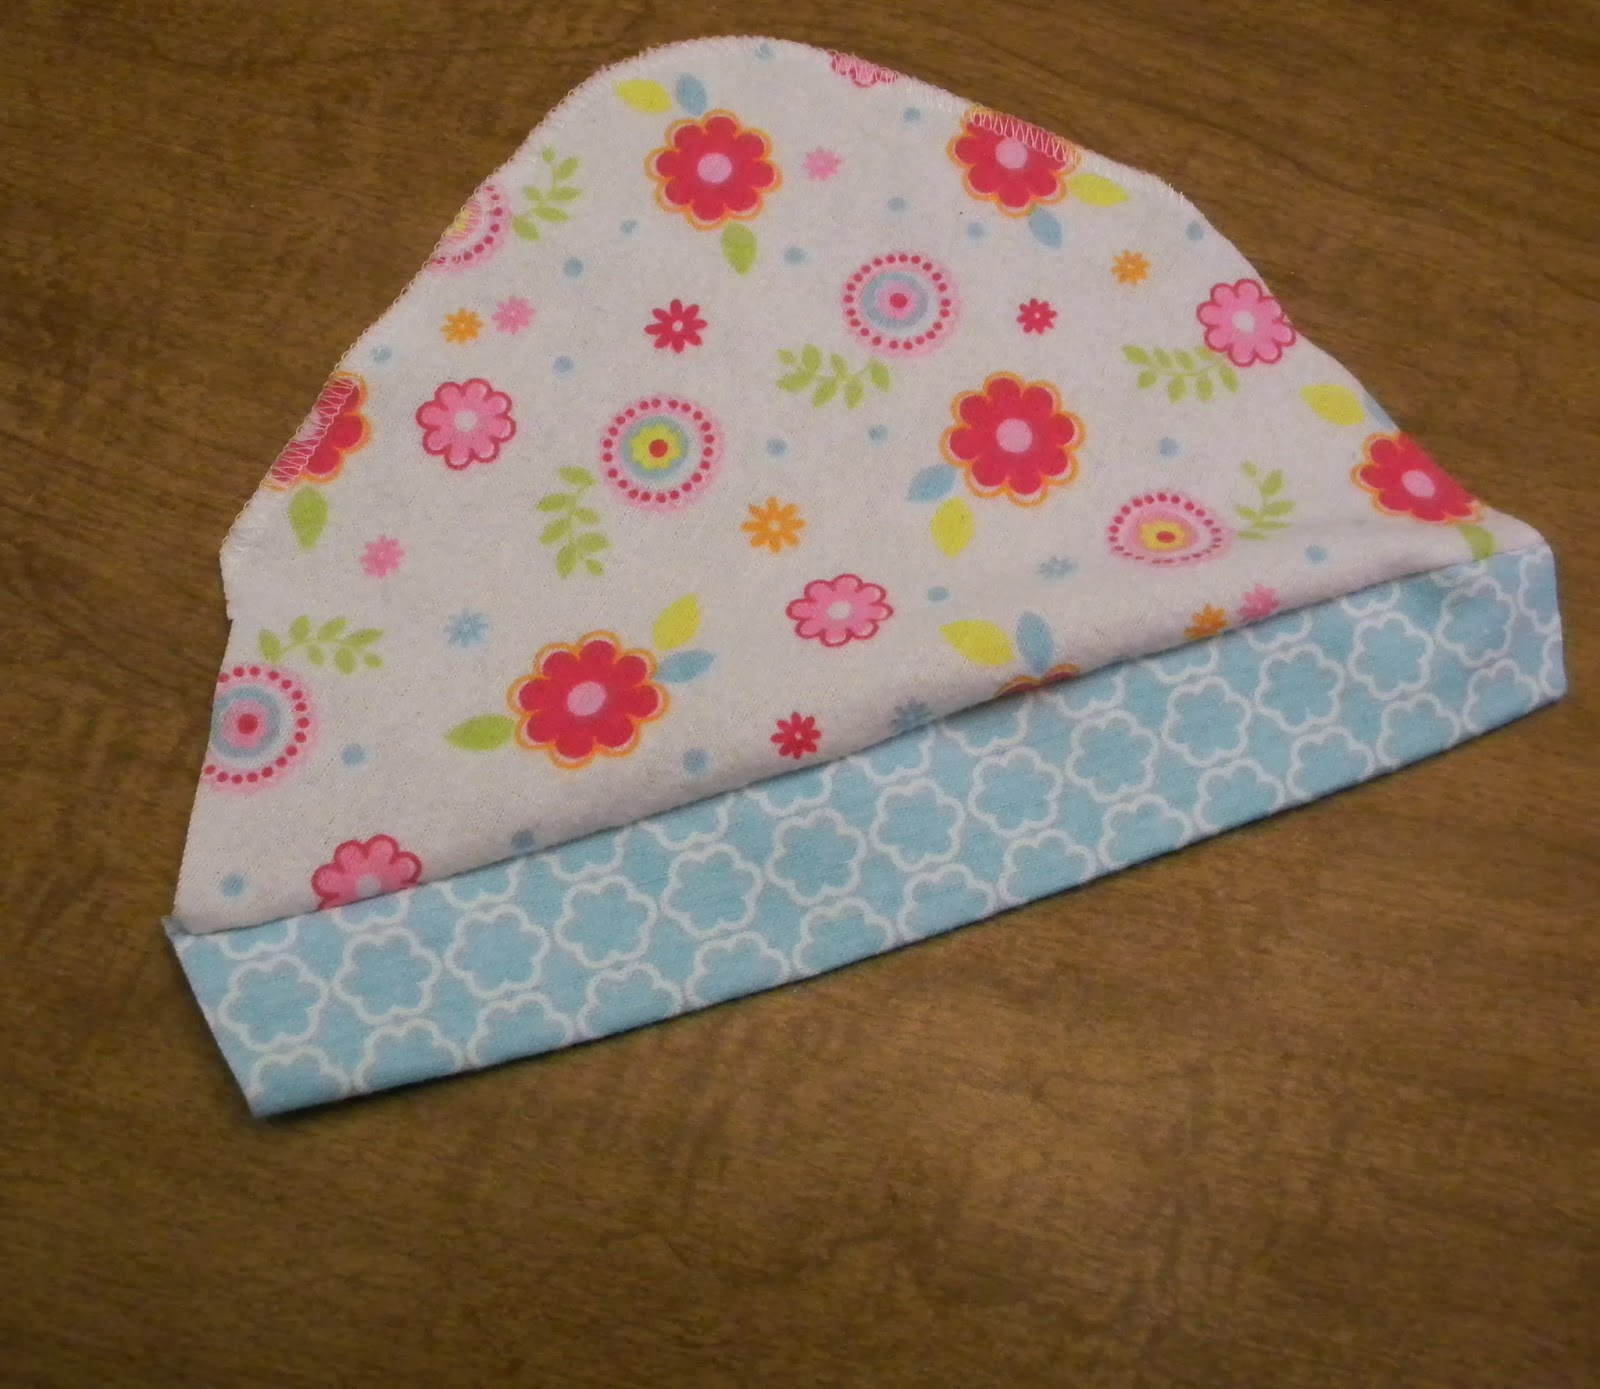
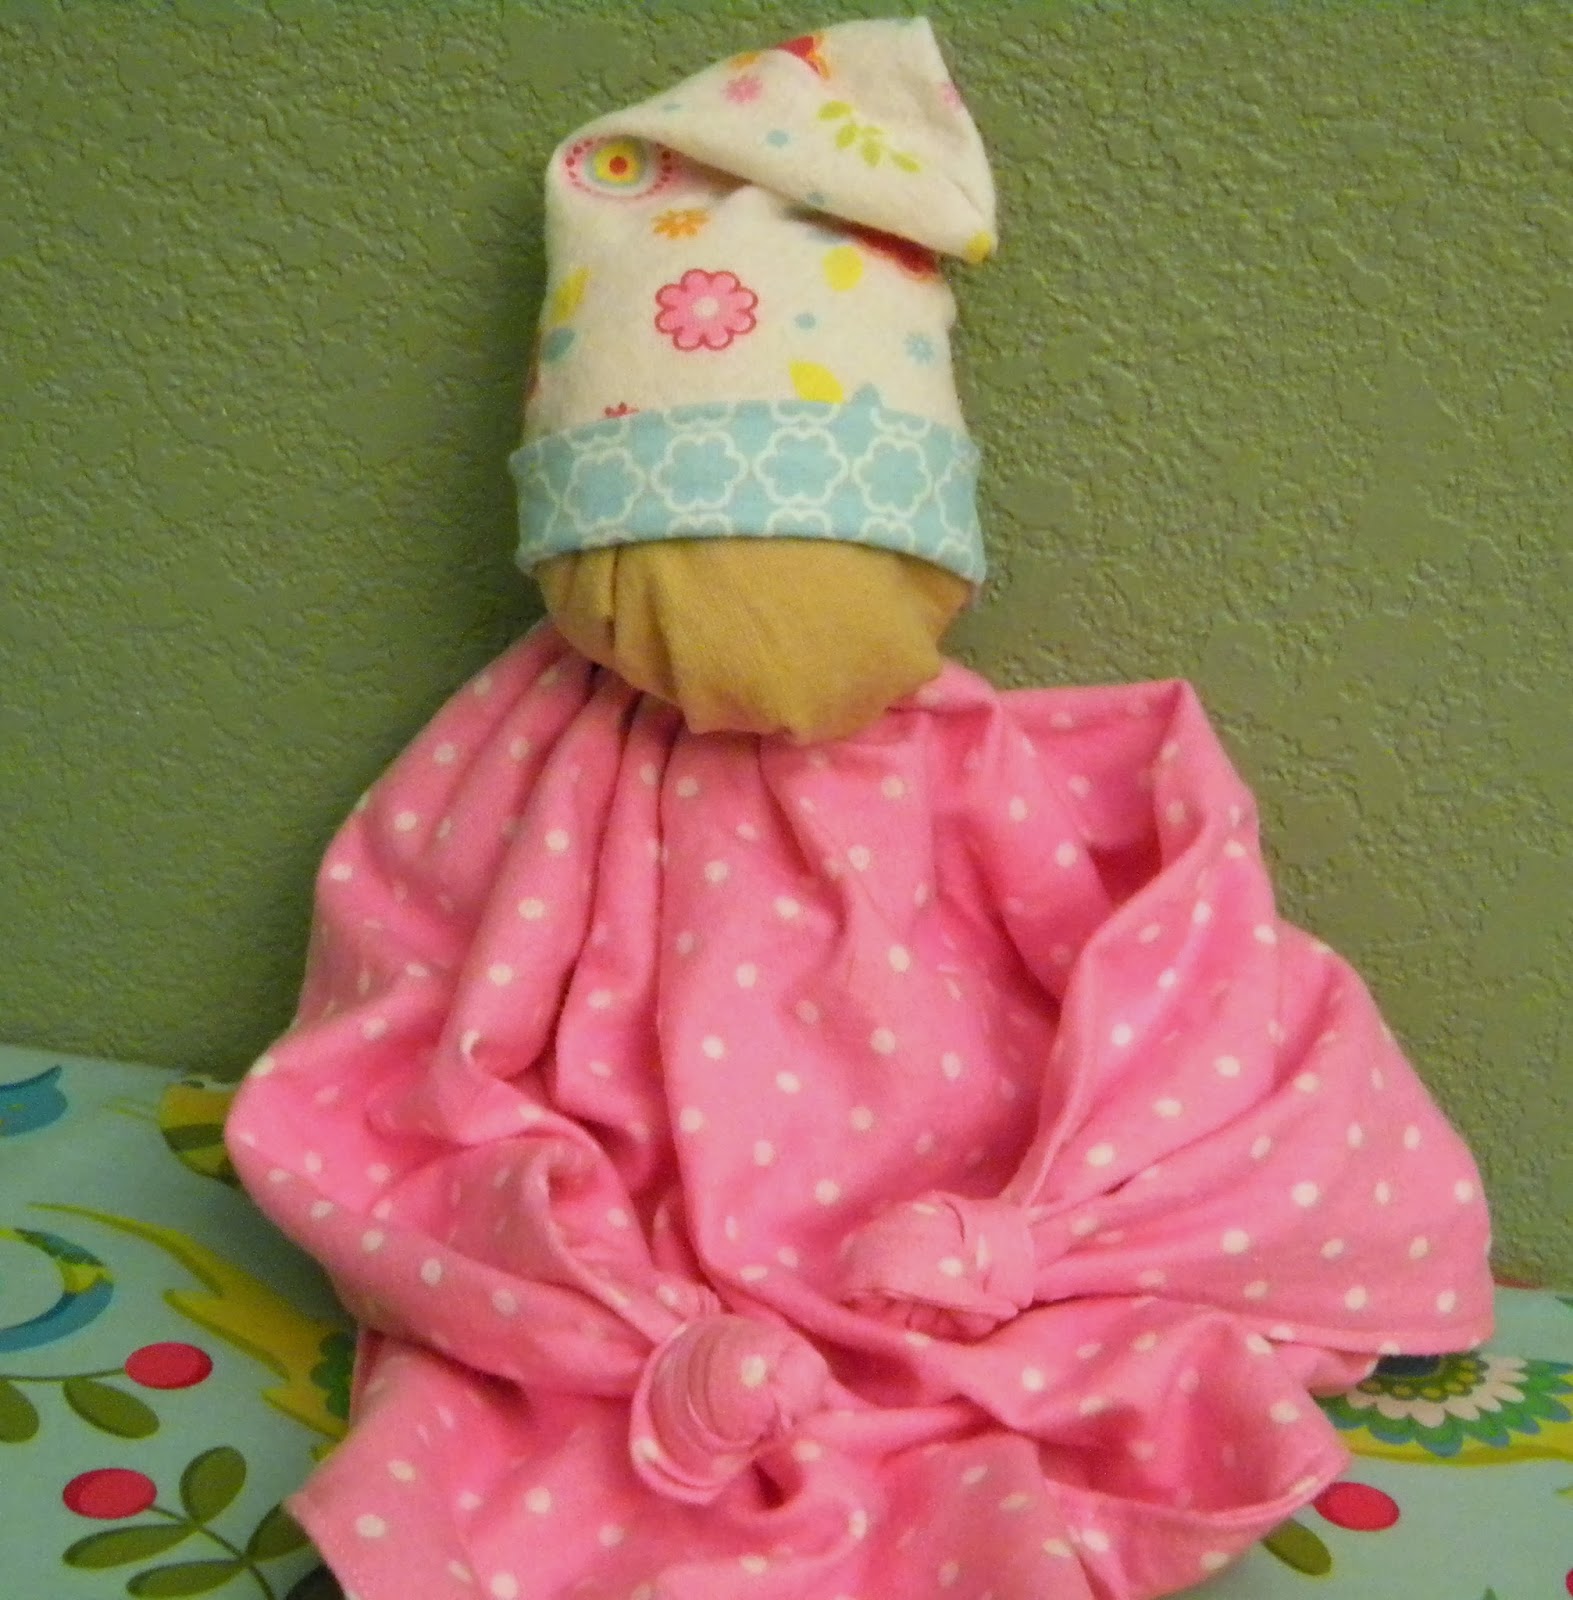
Flip the band up. See how the band seam is correct now?
And you did it! You made a Zbaby!
There is just one more step. We want to prevent the Zbabies from absorbing any other scent besides the parent's scent. So fold your Zbaby up so that it looks like it's wrapped in a blanket and place it in a ziploc bag.
You can print the image below and fold it half to make a cute label for your Zbaby. If you'd like to have a pdf of this label just email me (jeanalinhart@gmail.com) and I'll send it to you.
Just staple each of the bottom corners to the bag like this.
You did it! You're awesome! Now go make a bunch more and share this tutorial with your friends so we can flood the NICU with Zbabies!
Thanks for putting up with my poorly lit photos. If you have any questions or something needs clarifying please let me know in the comments section. Or if you have some tips after making your own Zbabies please share them here, too! Thank you for being willing to love people by providing these sweet gifts.